The crackle of a campfire, the starry night sky, the sticky fingers, and that perfectly gooey, toasted marshmallow-chocolate-graham cracker sandwich – few treats evoke such a powerful sense of nostalgia as s'mores. It's a quintessential experience that transports us back to simpler times, filled with warmth and sweetness. But what if you could capture that magical campfire essence and enjoy it anytime, anywhere, without the smoke, the sticky mess, or the need for an actual flame?
Enter Nostalgic S'mores Bars: a brilliant culinary invention that brings all the beloved flavors of traditional s'mores directly to your kitchen. These easy-to-make bars offer a delightful, mess-free twist on the classic, making them the perfect treat for any occasion – from cozy indoor gatherings to quick afternoon snacks, or even thoughtful homemade gifts. Get ready to rekindle those cherished memories with every delicious bite!
The Unforgettable Allure of S'mores Bars: A Campfire Classic, Reimagined
For many, the mention of s'mores conjures images of summer nights, laughter around a fire pit, and the simple joy of creating a warm, sweet treat. However, the reality of classic s'mores often involves unpredictable weather, finding a suitable outdoor space, and the inevitable sticky fingers and chocolate-smeared faces. This is precisely where the genius of easy indoor s'mores bars shines through.
S'mores bars offer an unparalleled convenience, allowing you to enjoy that comforting taste any time of year. There's no need for a campfire, no tricky marshmallow roasting technique, and significantly less cleanup. Instead, you get a perfectly balanced bite of buttery graham cracker crust, rich melted chocolate, and irresistibly gooey, golden-brown marshmallows – all baked to perfection in your oven. They are effortlessly shareable, travel well, and are an absolute crowd-plepleaser, making them ideal for potlucks, parties, or simply satisfying that sweet craving on a rainy day.
Crafting Your Perfect S'mores Bars: Simple Ingredients, Delicious Results
One of the most appealing aspects of these delightful treats is their simplicity. With just a handful of everyday ingredients, you can whip up a batch of glorious smores bars that taste like pure childhood joy. The beauty lies in how these basic components combine to create something truly magical.
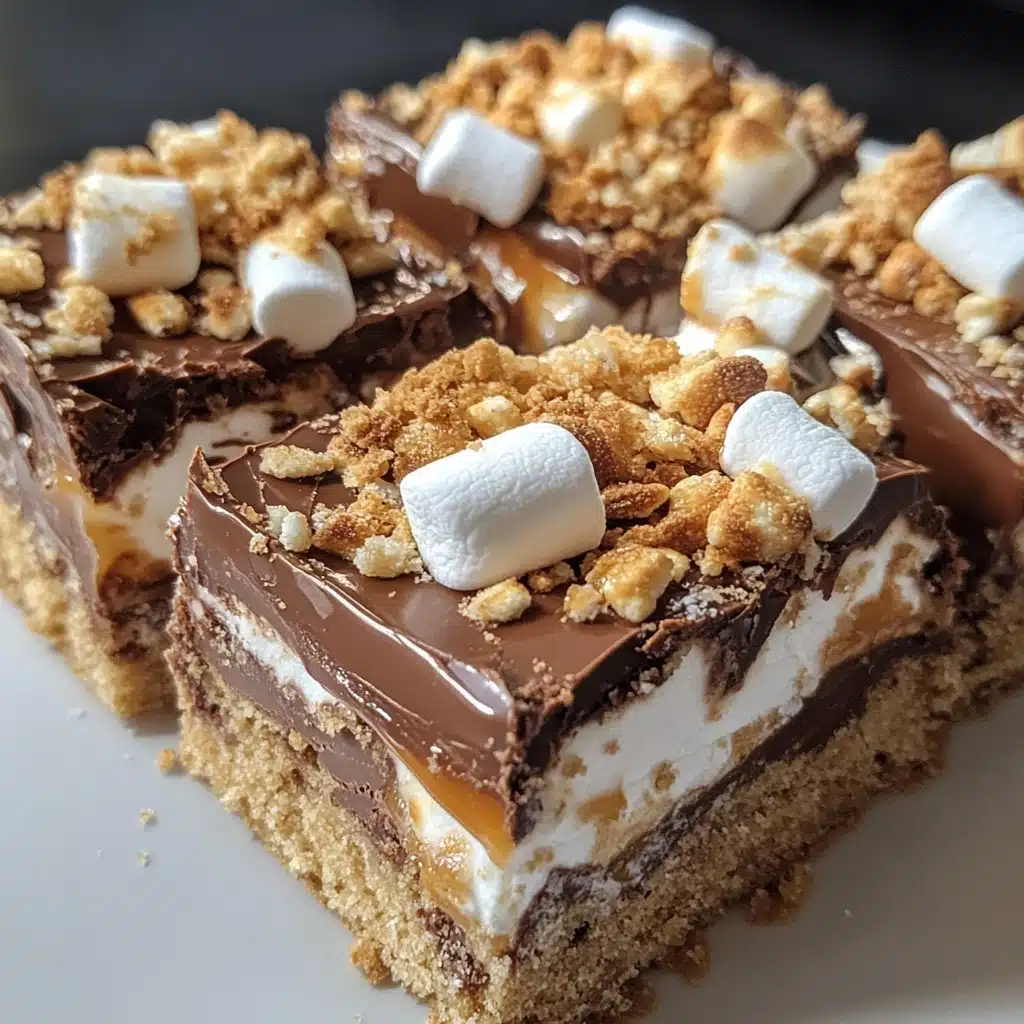
The Essential 5 Ingredients for S'mores Bars
- Graham Cracker Crumbs: These form the foundation of your bars, providing that quintessential crunchy, slightly spiced base. You can buy pre-crushed crumbs or easily crush whole graham crackers yourself for a fresher flavor.
- Melted Butter: More than just a binder, butter adds a rich, comforting depth to the graham cracker crust, ensuring it bakes up firm and flavorful.
- Chocolate Chips: The heart of the s'more! Semi-sweet chocolate chips are a popular choice, melting beautifully into a smooth, indulgent layer. Milk chocolate offers a sweeter profile, while dark chocolate provides a more intense, sophisticated contrast to the sweetness of the marshmallows.
- Mini Marshmallows: These are crucial for that iconic gooey, toasted top layer. Mini marshmallows melt and puff up evenly, creating a fluffy cloud that browns perfectly in the oven. Using mini over large marshmallows ensures a consistent, satisfying bite.
- Granulated Sugar: Often mixed into the graham cracker crust, sugar enhances the sweetness of the base and helps it crisp up beautifully.
The Simple Steps to S'mores Bar Bliss
Creating your own batch of smores bars is surprisingly straightforward, usually taking about 50 minutes from start to finish, including baking and a crucial cooling period. Here's a general outline of the process:
- Prepare the Crust: Combine your graham cracker crumbs with melted butter (and sugar, if using). Press this mixture firmly and evenly into the bottom of a 9x13-inch baking pan, ideally lined with foil or parchment paper for easy removal. Bake the crust for a short period (typically 8-10 minutes at 350°F / 175°C) until lightly golden. This pre-baking step helps create a sturdy foundation.
- Add the Chocolate Layer: As soon as the crust comes out of the oven, sprinkle an even layer of chocolate chips over the hot surface. The residual heat from the crust will begin to melt the chips, allowing you to gently spread them into a smooth, luscious chocolate layer.
- Pile on the Marshmallows: Distribute mini marshmallows evenly over the melted chocolate. For an extra visual touch and textural complexity, you might sprinkle a few extra graham cracker pieces or chocolate chips on top of the marshmallows before the final bake.
- The Final Bake: Return the pan to the oven and bake for another 11-17 minutes, or until the marshmallows are beautifully puffed up and golden brown. Keep a close eye on them during this stage, as marshmallows can go from perfectly toasted to burnt very quickly!
- Cool and Cut: This is arguably the hardest part – patience! Allow the bars to cool completely at room temperature before attempting to cut them. This ensures clean, neat slices and allows the layers to set properly.
Beyond the Basics: Elevating Your S'mores Bars with Creative Twists
While the classic s'mores bar recipe is perfect in its simplicity, there's a whole world of flavor exploration waiting for you. Don't be afraid to experiment and personalize your bars to suit your taste preferences or the occasion. For more inspiration, check out our comprehensive guide on S'mores Bars Without a Campfire: Creative Flavor Variations.
Unleash Your Inner S'mores Artist: Flavor Variations
- Crust Alternatives: Beyond traditional graham crackers, consider chocolate graham crackers for a richer base, crushed Oreo cookies for a cookies-and-cream twist, gingersnaps for a spicy kick, or Biscoff cookies for a caramel-like depth. Golden Grahams cereal, used either crushed or left slightly chunky, can also provide a unique texture and flavor. For a salty-sweet dimension, crushed pretzels make an unexpected yet delicious crust.
- Chocolate Layer Innovations: The chocolate layer is ripe for customization! Instead of just chips, chop up your favorite classic Hershey's bars for an authentic s'mores experience. Experiment with white chocolate, peanut butter chips, or butterscotch chips for different flavor profiles. A drizzle of caramel or fudge sauce over the chocolate layer before adding marshmallows can also elevate the indulgence.
- Marshmallow Magic: While mini marshmallows are standard, you can also use an even layer of marshmallow creme for a super smooth, uniform topping. For festive occasions, look for flavored marshmallows like peppermint or strawberry. If you're feeling adventurous, a quick blast under the broiler (with extreme vigilance!) or a culinary torch can achieve an even deeper, more dramatic toasted marshmallow effect.
- Optional Add-ins: Boost the texture and flavor with chopped nuts like pecans, almonds, or pistachios sprinkled over the chocolate. A dusting of shredded coconut, a sprinkle of sea salt, or even festive sprinkles can add visual appeal and extra taste dimensions.
Expert Tips for S'mores Bar Success
- Don't Overbake the Marshmallows: Keep a close eye on the bars during the final baking stage. Marshmallows can quickly turn from golden and gooey to brittle and slightly burnt. A light golden-brown is ideal.
- Cool Completely Before Cutting: This is critical for clean, neat slices. Resist the urge to cut into warm bars, as the chocolate will be too soft and the marshmallows too gooey, leading to a messy result.
- Use a Sharp, Warm Knife: For the cleanest cuts, use a large, sharp knife (like a chef's knife). You can run it under hot water and wipe it dry between cuts to prevent sticking.
- Press Crust Firmly: A well-packed crust ensures your bars hold together beautifully.
- Lining the Pan: Always line your baking pan with parchment paper or foil, leaving an overhang on the sides. This creates "handles" that allow you to easily lift the entire slab of bars out of the pan before cutting.
Storage, Serving, and Sharing: Maximizing Your S'mores Bar Experience
Once your irresistible smores bars are cooled and cut, you'll want to ensure they stay fresh and delicious. They are perfect for sharing, gifting, or simply enjoying over several days.
Storing Your S'mores Bars for Lasting Freshness
- Room Temperature: Store leftover s'mores bars wrapped tightly in aluminum foil or in an airtight container at room temperature for up to 4 days. Storing them at room temperature helps maintain the ideal soft, chewy texture of the marshmallows and chocolate.
- Freezing: For longer storage, you can freeze s'mores bars. Place them in a single layer in a freezer-safe container or a freezer-safe ziplock bag, separated by parchment paper if layering. They will keep well for up to 3 months.
- Thawing and Reheating: To thaw frozen bars, simply place them in the refrigerator overnight. Bring them to room temperature before serving, or warm them in the microwave for 10-15 seconds for that fresh-from-the-oven, extra-gooey experience.
Presentation and Gifting Ideas
S'mores bars are not just a treat; they're an experience. Present them beautifully and they'll make an even bigger impact!
- Custom Cuts: Cut the bars into traditional squares or rectangles, or get creative with triangles for a fun twist.
- Dusting and Drizzles: A light dusting of powdered sugar or cocoa powder before serving can add an elegant touch. A final drizzle of chocolate syrup or caramel can also enhance their appeal.
- Individual Wraps: For gifting, wrap individual bars in cellophane bags or parchment paper and tie with a ribbon. They make fantastic homemade gifts for teachers, neighbors, or as party favors.
- Serve Warm: While delicious at room temperature, a slightly warmed s'mores bar, perhaps with a scoop of vanilla bean ice cream, takes the indulgence to another level. They pair wonderfully with a hot cup of coffee or a cold glass of milk.
There's an undeniable magic to s'mores, a flavor profile that speaks to joy and comfort. With these incredible Nostalgic S'mores Bars, you no longer need a roaring fire to experience that magic. They are simple to make, endlessly customizable, and guarantee a mess-free, delicious journey back to your fondest memories. So, gather your ingredients, preheat your oven, and prepare to create a batch of these irresistible treats that will delight both young and old, making any occasion a little sweeter and a lot more nostalgic.
